2021-09-12 11:21:53
Seattle, WA

How to Proof Dough Using the Anova Precision Oven
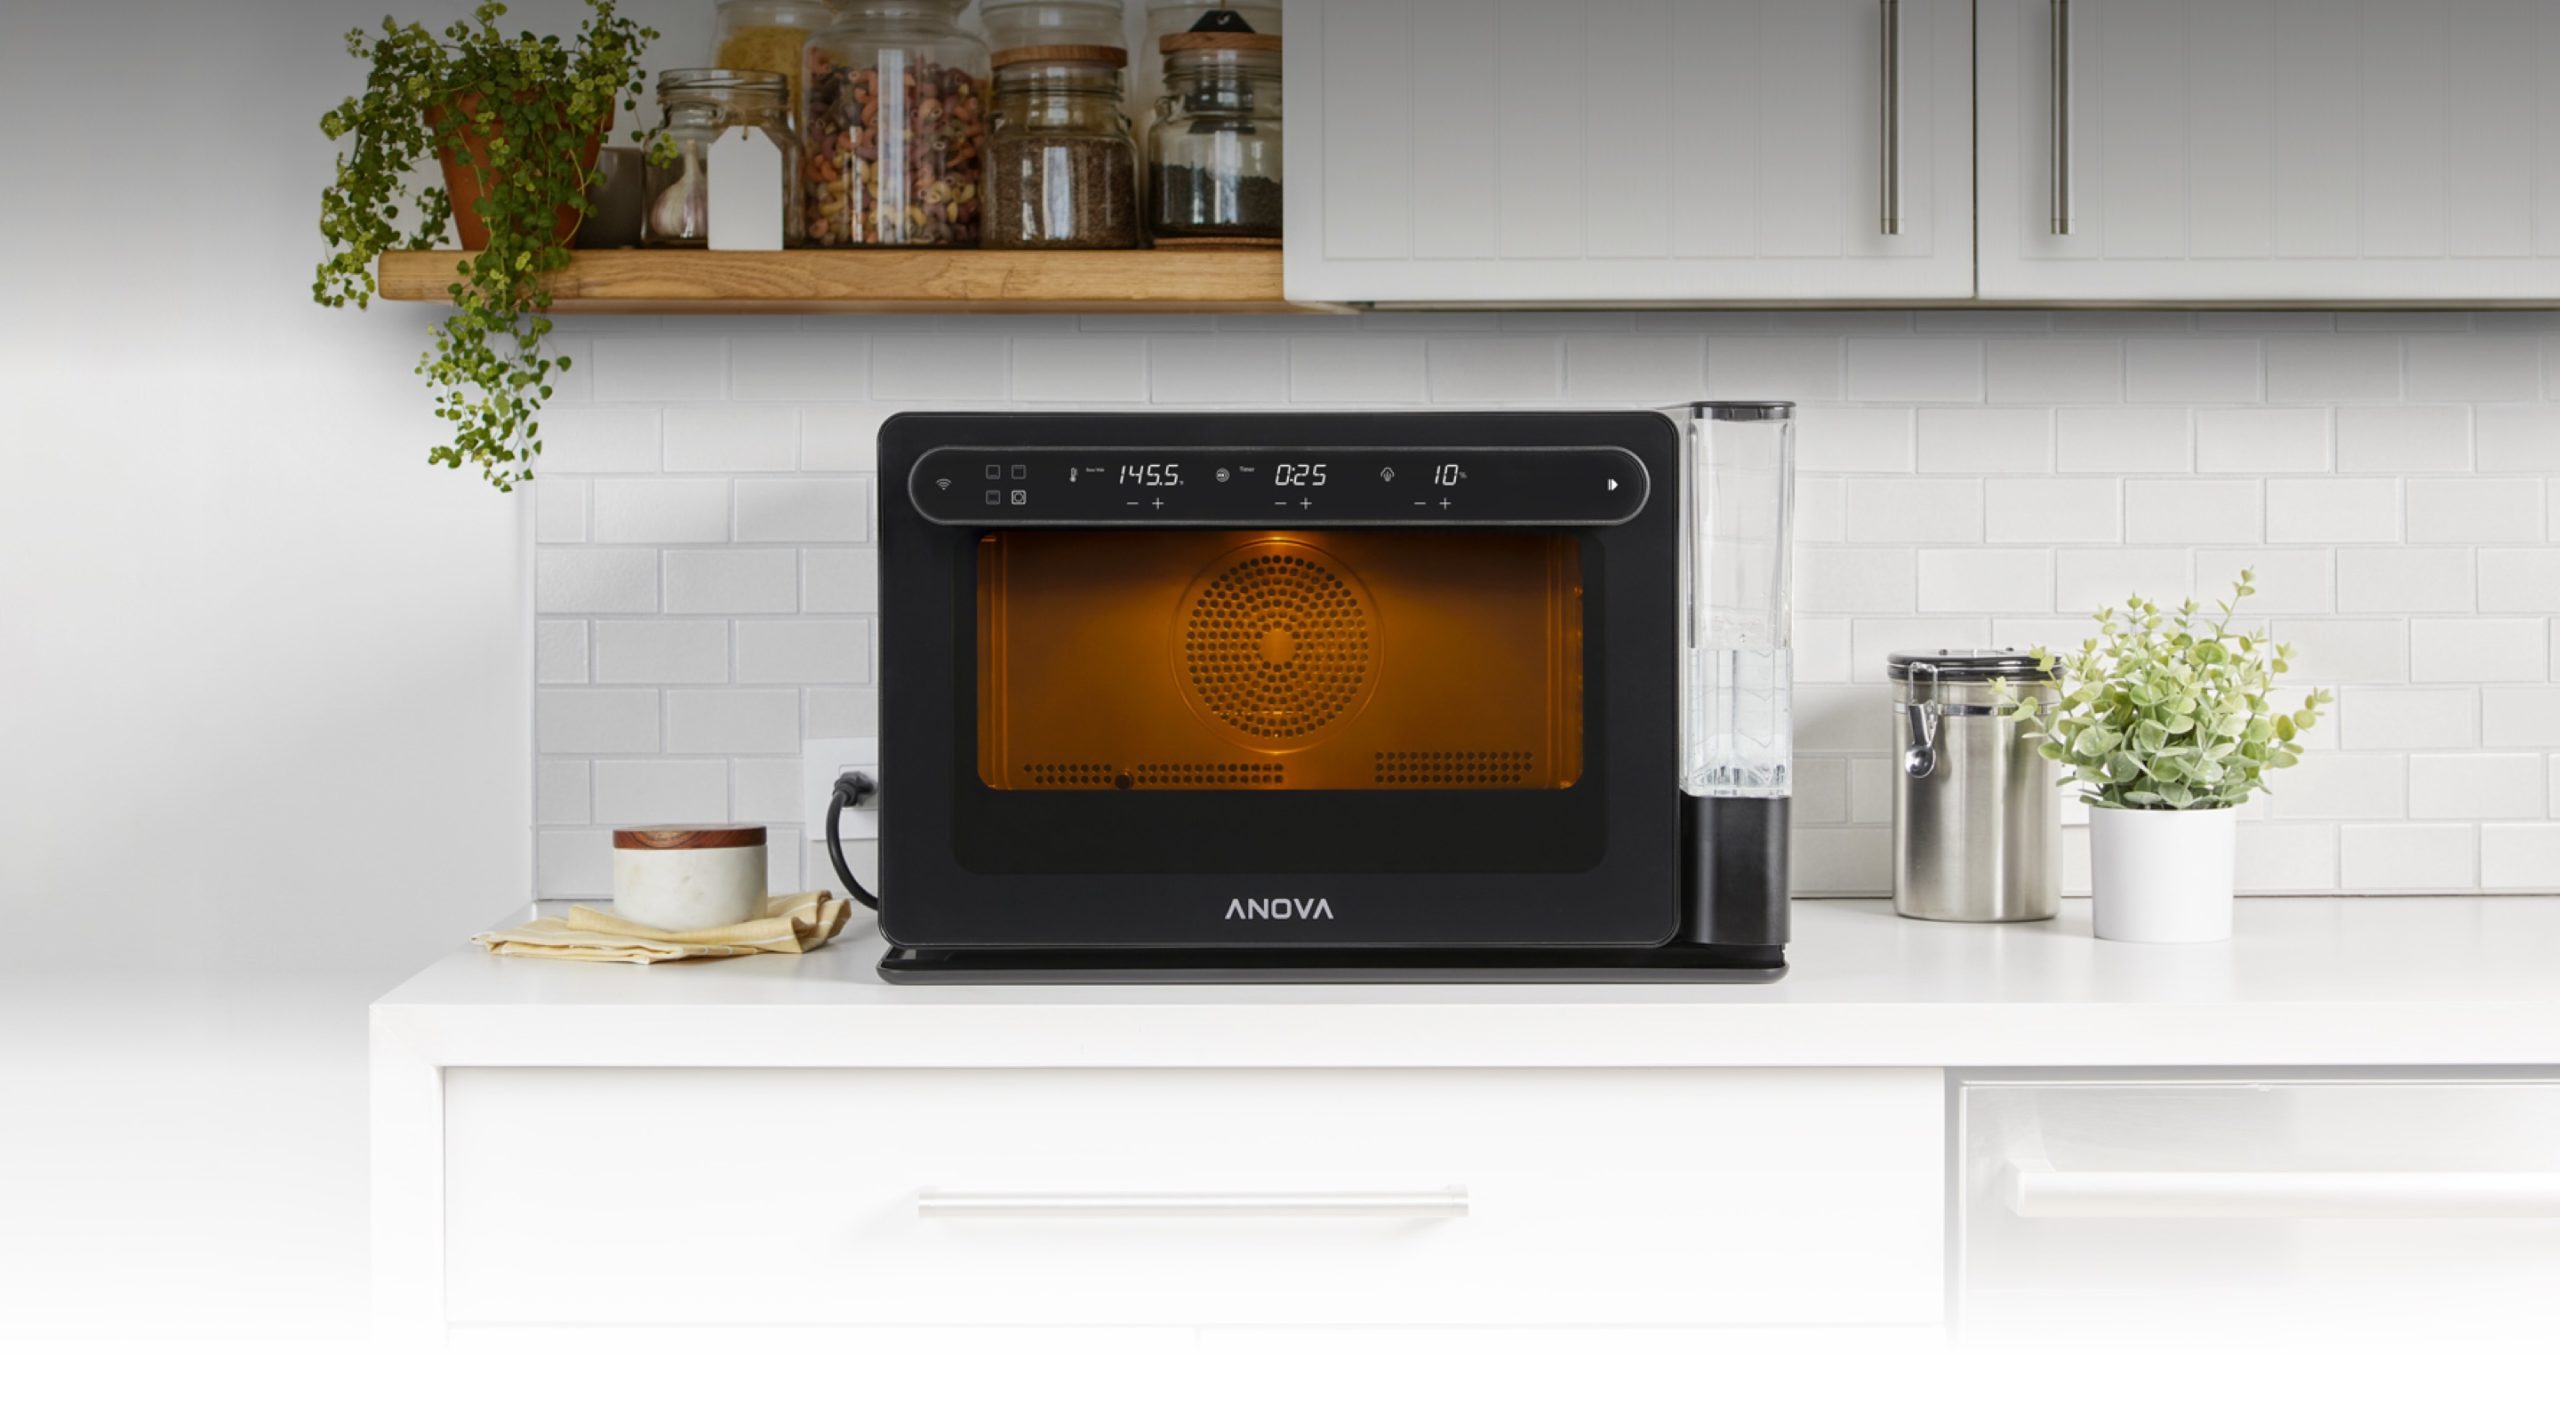
The APO is a remarkable tool and equally capable of proofing dough. We bake a lot of sourdough and continuously tweak recipes and process in our never ending quest for that perfect bread. Like any other tool the configuration and setup is key to achieving the desired results.
For this example we want to proof our dough at 75F.
Simple right? Configure the APO with the following settings.
Sous Vide Mode: On
Cooking Temperature: 75F
Steam: Off
Heating Element: Bottom
Fan: High
When you go to measure your dough's temperature, if you're lucky your thermometer will read 75F. Unfortunately ours read 72F (with a calibrated thermometer), not exactly the precision we needed for our process.
This is a simple challenge to overcome and all you need is a thermometer. Simply place the thermometer inside the oven and increase or decrease your "Cooking Temperature" settings until the thermometer reads 75F. In our case we would use the following APO settings.
Sous Vide Mode: On
Cooking Temperature: 78F
Steam: Off
Heating Element: Bottom
Fan: High
We use a thermometer with data logging capabilities and find that the oven will fluctuate at 75F +/- 2 degrees. This temperature fluctuation may seem concerning, however, in our experience has no real world impact on the final result.
With a second thermometer placed in the dough we measure 75F +/- .2 degrees, well within the tolerance we find acceptable to producing the results we want in our bread.
We also find the following tips and tricks helpful when using the APO as a proofing box.
1. Pre-heat your APO, it takes a while to get 75F stabilized if your home temperature differs.
2. When you add water to your dough make sure it's at 75F.
3. Leave the door shut. For example, the light goes out. Use the app to turn it on instead of opening the door.